Windows11安装OpenClaw
OpenClaw介绍
OpenClaw 是一个开源、本地部署的 AI Agent 网关。它的核心思路不是“只回答问题”,而是让 AI 具备执行动作的能力,例如访问网页、运行命令、调度任务、连接聊天渠道和管理会话。根据资料,它原先还经历过名称变动:先后出现过 Clawdbot、Moltbot,最终在 2026 年 1 月底确定为 OpenClaw。
安装OpenClaw 环境依赖
安装NVM
1 | scoop install nvm |
安装nodejs24
1 | nvm install 24 |
安装git
1 | scoop install git |
设置git
默认似乎用的是ssh://协议,如果本地没有配置ssh-key就会报错。可以通过配置将其替换为https://
1 | git config --global url."https://github.com/".insteadOf ssh://git@github.com/ |
安装OpenClaw
确认node版本是22以上,推荐nodejs 24。
1 | node -v |
执行如下命令安装openclaw
1 | npm install -g openclaw@latest |
配置OpenClaw
在PowerShell中,执行如下命令进行初始化配置
1 | openclaw onboard --install-daemon |
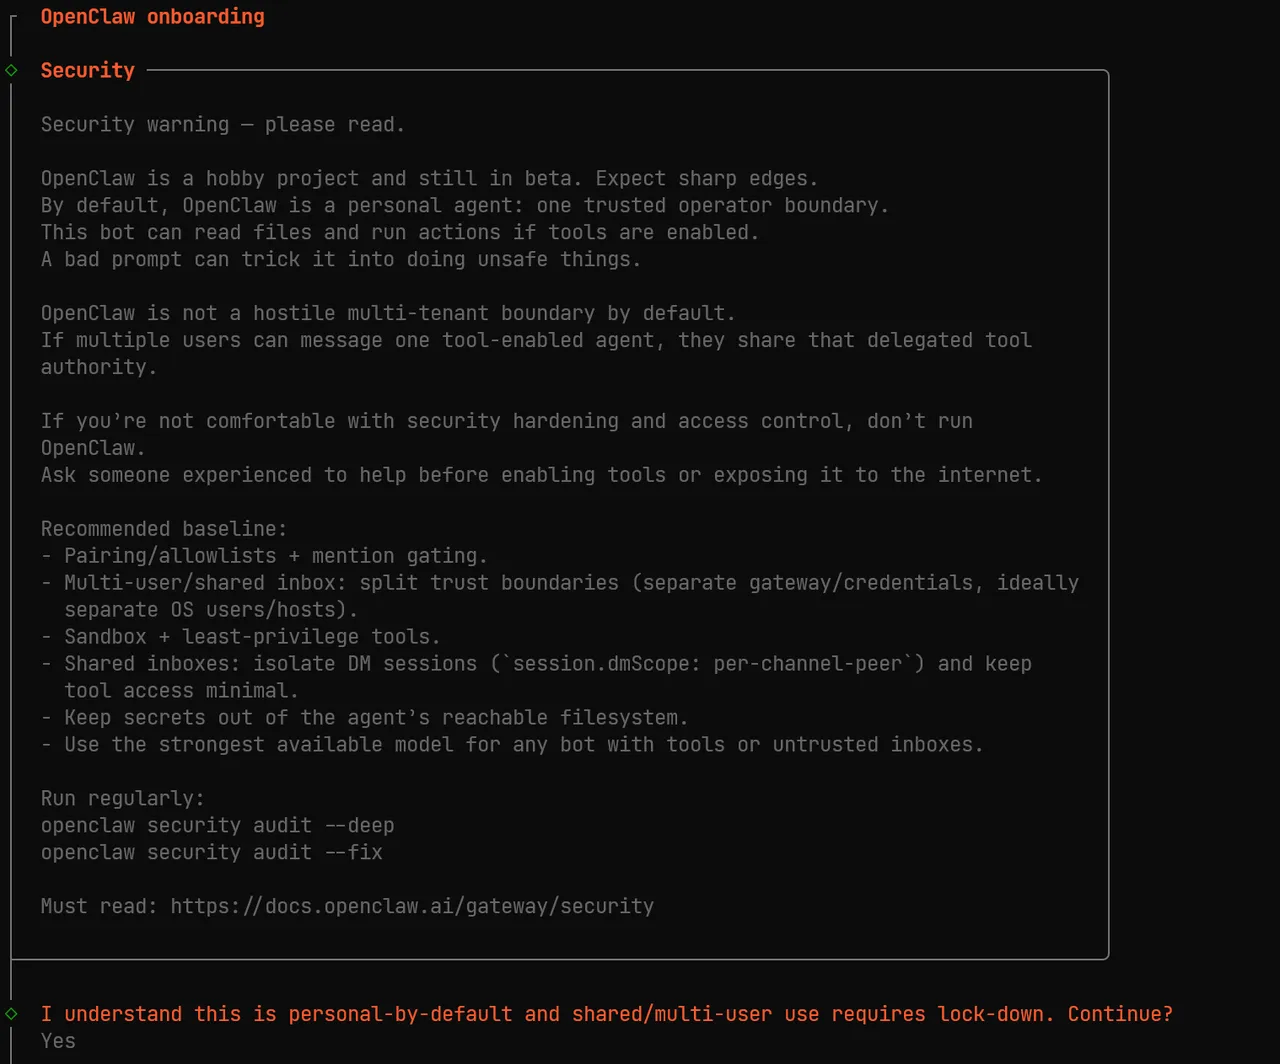
免责申明
这里只是做一下免责申明,通过方向键选择yes即可。
引导模式(Onboarding mode)
这里选择QuickStart即可。

模型验证(Model/auth Provider)
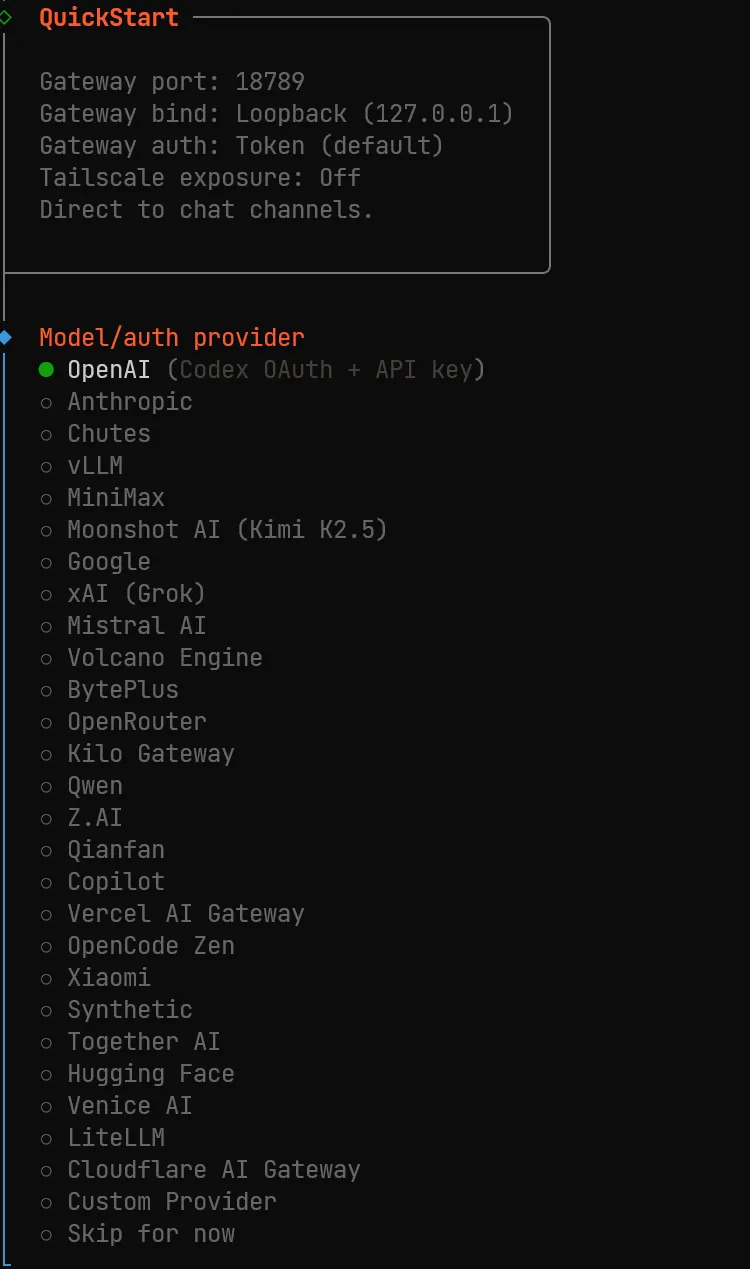
这里通过方向键,将其选中Custom Provider,此时会让你输入API Base URL。自己选一个模型按要求填写即可。
Select channel
直接跳过,选择Skip for now,安装完成后直接安装QQ bot即可,简单快捷。
技能
不建议安装,全部跳过,如果是mac用户可以根据自己实际情况激活,注意,技能越多,越浪费token。
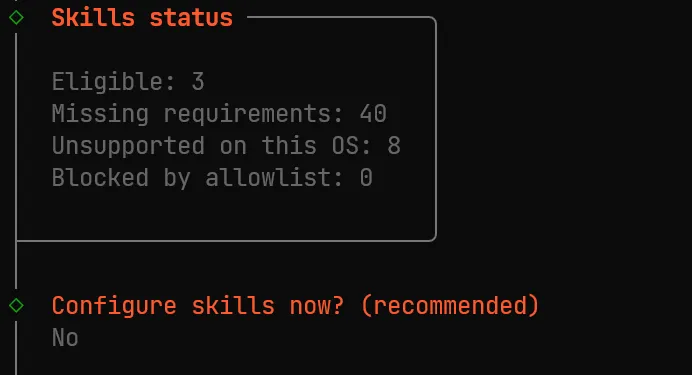
此时便安装完成,可以打开dashboard查看页面。
配置OpenClaw模型
最近OpenClaw更新频繁,内容时效性很低,这个配置仅作为OpenClaw 2026.3.2版本是有效果的。
OpenClaw的配置文件在C:\Users\xxx.openclaw\openclaw.json,每次通过命令行修改配置它会自动备份为openclaw.json.bak.{1…n}。
如果不习惯使用配置文件配置,也可以在Dashboard的页面中修改。在openclaw dashboard启动的状态下,打开web ui,在左侧菜单中选择配置 -> All Settings > RAW。将配置好的内容填写进去即可。(注意:如果配置有自定义Key,然后在Web UI里修改时,会出现无法识别Key,导致配置丢失的问题)
建议,要么一直使用配置文件,要么使用web ui,二者不要混着修改。
下面是我的配置,可以进行参考。
"ali",就是交互配置中的Endpoint“baseUrl”, API base URLapiKey,APT Key- 还有一步选项的选择
OpenAI-compatible,也就是下面配置文件中的"api"的值。所有模型都兼容Openai,所以都选这个 "id": Model ID,这里务必要与大模型产商定义的模型名称一模一样,否则会报404。"name":随便写,比如那些事付费的,那些是免费的可以自己加个备注:qwen3.5-plus(FREE)
1 | "models": { |
接入QQ
打开QQ开放平台,官方页面会有个OpenClaw快捷开通的链接,点击,创建机器人即可。
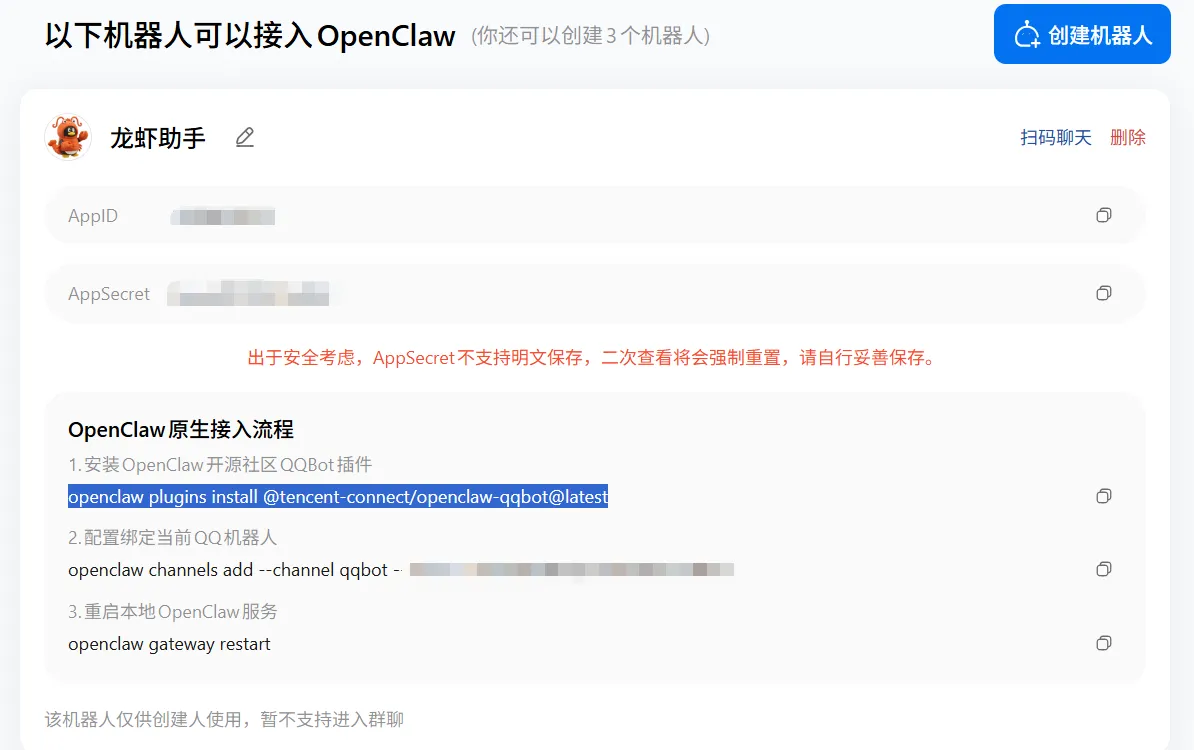
然后按照图中的步骤进行就行了。
 wechat
 alipay